Over the past two weeks there has been a ton of action at the farmhouse - namely siding and windows! Thinking back to the start of this project (only 14 weeks ago), I am amazed at how well things have gone to date.
After quite a bit of deliberation, pricing things out, etc, we decided to go with LP Smart Side as our exterior material. It is a manufactured wood product that is stamped to look like cedar boards. It comes primed in 16' lengths and will be painted once installed. Selecting this product and knowing we would have to paint it was a disadvantage, however paints have come a long ways in the recent years and now will hold up for up to 15 years before requiring re-painting. Other siding products such as vinyl are easy to install, but tend to fade over time - and then the only choice you have is to replace it.
The familiar picture looking at the front elevation. Notice the siding completed around the garage door openings.
The front elevation of the garage. We completed this side in one day, on 8/3. It went very well now, that we have the hang of installing the siding. Note that this color is only the primer color - we will apply the finish coat in our color scheme. Also, notice the 8" board 4 rows down from the top - this will be the break between the upper and lower paint colors.

Closeup of the garage door. The jambs (white parts) are faced with PVC trim which holds up better to the wear and tear you would encounter here and is also more water resistant at the bottom. If you look closely above the opening, you can also see a block for mounting a light fixture. There is one above each door - we will pick out a farm/industrial style light fixture that will provide downlight over the garage door opening.

Looking to the south - everything looks straight!

Inside the garage looking south - windows are installed. These are awning style windows, so the bottom cranks out and the top is hinged. They will provide good ventilation.

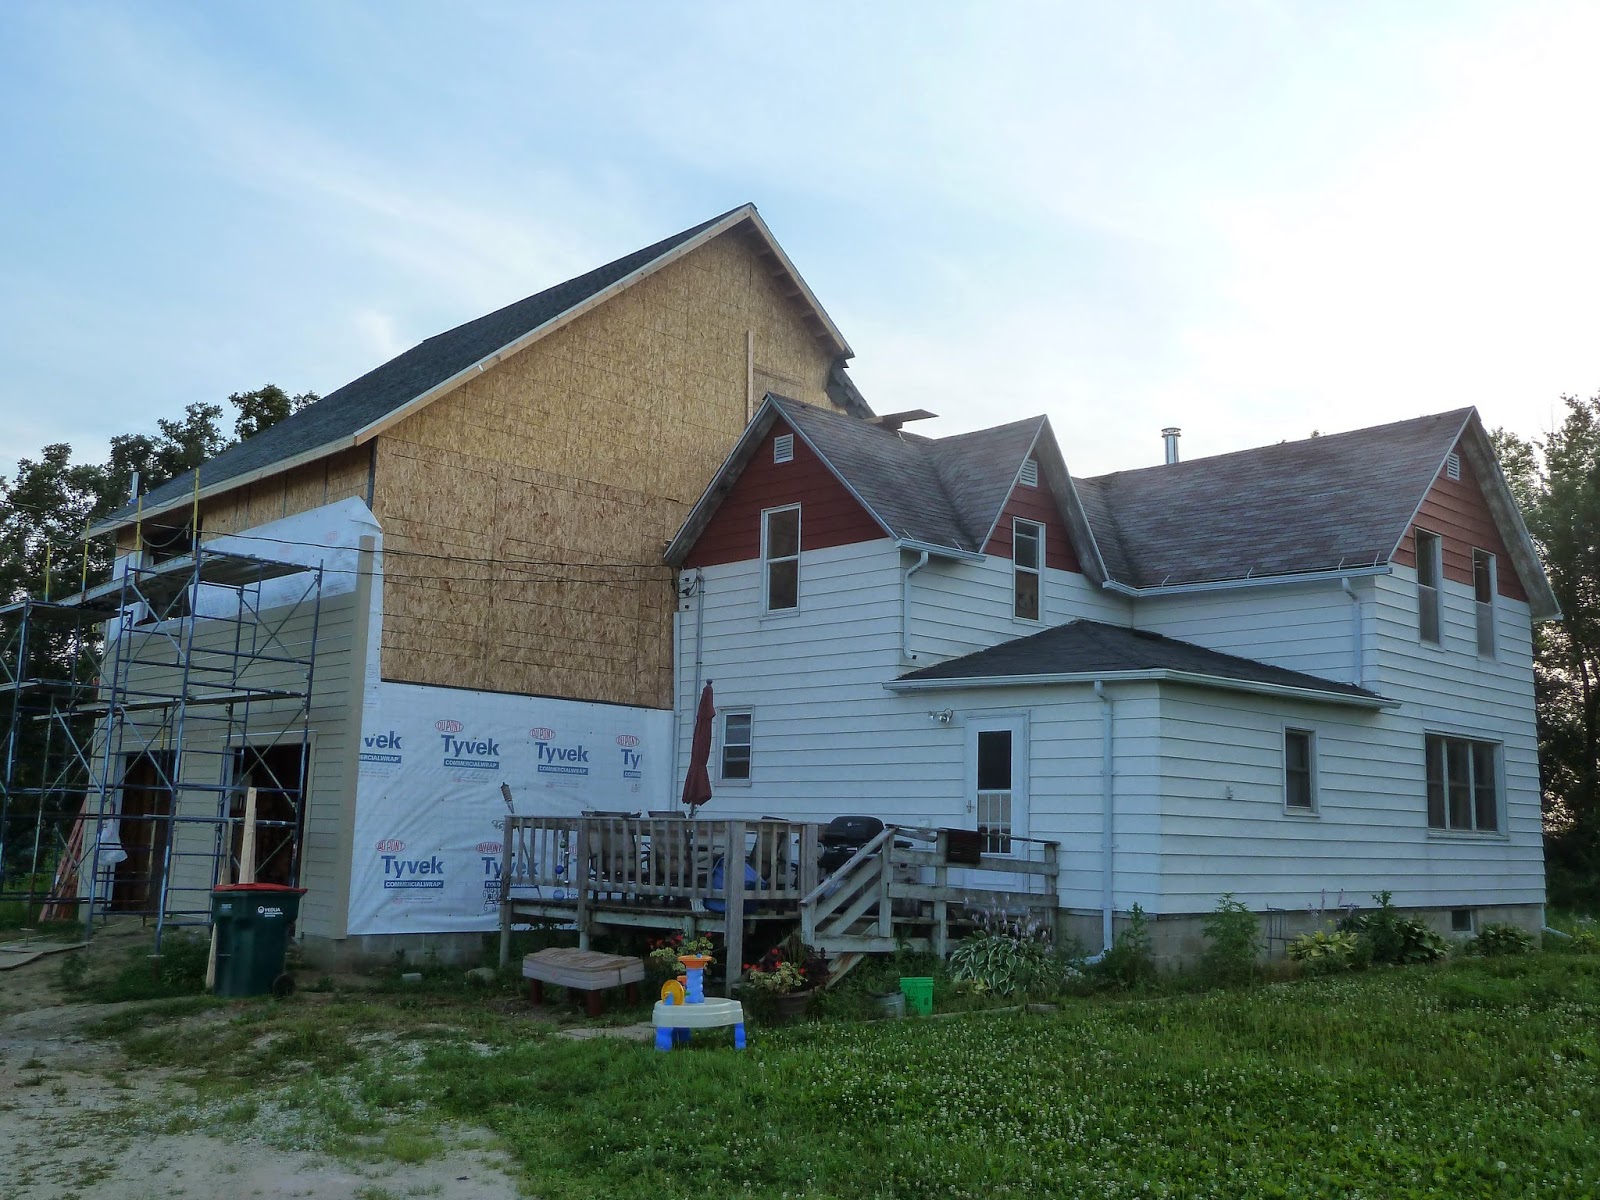
SW corner - great progress on the south side of the house. It was quite a bit of work trimming out all the windows, installing the horizontal band, etc. Notice the windows are also installed at the second floor. These were quite heavy, but install went fairly well. Notice the Tyvek wrap hanging down - more on this to come!

Hard to get a good picture of the installed windows with the scaffolding in the way, but here is a pretty good picture. We elected to go with Marvin metal clad windows. They have a grille in the upper window and the bottom is clear.

SE corner looking east - nice and straight! The little block towards the bottom of the picture is for a hose spigot.

A closeup of one of the little awning windows. LP Smart Side requires you leave 3/16" gap at all joints which you can see around the window trim. At the joints in the siding, we elected to use a trim piece which covers the seam. They are white now, but will get painted to match the siding and will disappear.

So, the first equipment failure. While installing the Tyvek wrap above the second story windows (about 25' off the ground), the lift decided to blow a hydraulic hose. Luckily, my very handy brother, Ted, was able to come over and remove the defective hose and we will get a replacement one ordered. So, I get a break from high work for now!

Picture of another window. Here you can also see the horizontal band board to break up the upper/lower colors.

SE corner looking west. The smaller window you can see not installed will actually be left out for materials access such as drywall, etc. The delivery truck will be able to just boom it up into the window.


As you can see, lots of progress, but lots left to go also! The next step is to get the large master bedroom window installed and complete siding on the east side.
Unfortunately, I have no new shop kitty pictures, so I thought I would post an old one!
Until the next update, enjoy the summer!

No comments:
Post a Comment