Sunday, June 15, 2014

Farmhouse Addition - Week 5 - 7 Updates

Well, I broke the cardinal rule of being a good blogger - being that 3 weekends have now gone by since the last update.  My apologies followers!

Anyway, weekend 5 consisted of completing framing and tipping up the majority of the 2nd floor walls.  Here are some pictures to follow along below:

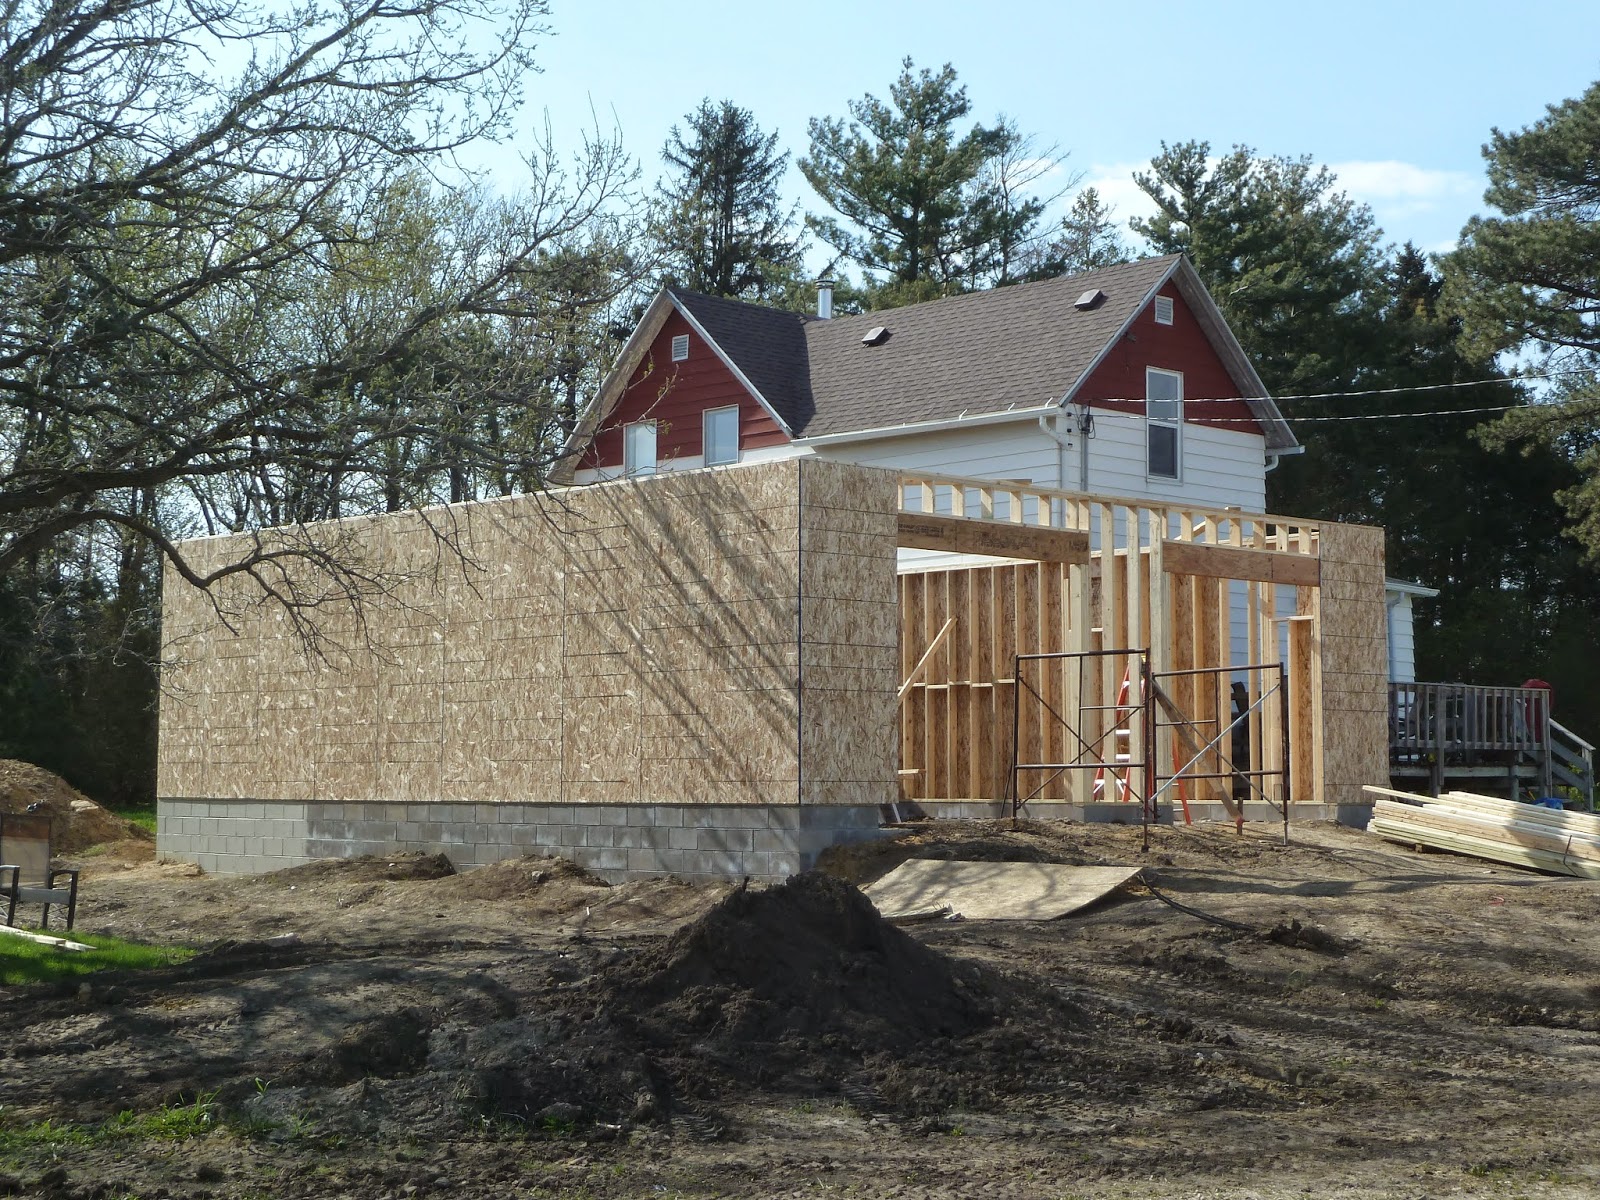
Looking to the NW - This long 34' wall was built in 3 sections.  It still took everything 3 adult men had to tip up the sections.  The OSB sheathing was pre-attached, which added more weight.  The advantage to doing it this way is that you don't have to try and lift/nail sheets up from the outside up 2 stories!

Looking to the NE - The house looks very boxy now, but with the windows cut out and some different siding textures, it will break up the box-yness.  In this picture you can also see that although the addition looks very tall, it lines up perfectly with the floor levels in the existing house when you compare to the 2nd floor windows in the house.

Up on the addition looking SW - The corner room you see framed is the future office.  Notice that the roof overhang on the existing house will conflict with the walls on this side and will need to be cut back.

Up on the addition looking NW - It's a shame this nice new roof on this side of the house that we re-did when we moved in will end up being removed in order to tie in the roof.

Between weekends 6 and 7 we hoisted up all the roof trusses and got them tipped up and set into place/braced.  Needless to say, it was a lot of work!

Looking SW - All the main trusses are up.  The heavist truss was about 420 lbs.  My father in-law Mike really bulked up his good arm cranking up each and one of these trusses from the ground up - all in one day!  The 3mm (about 1/2 the thickness of a wood pencil) braided steel cable from Harbor Freight really held up well - although we did not get close to the max load rating of 1460 lbs! The flat part on the top of the trusses will receive another small triangle truss to get to the peak.  The trusses have to be shipped broken up like this because otherwise they would be too big to navigate the roads.

Looking NW:  The structure is almost taller than the oak tree!

Looking to the NE - It's a long way up to the top!

Master Bedroom - We decided to go with inverted trusses to create a tray ceiling in the master bedroom.  It is a cheap add to the truss order and will give a grand look to the master bedroom, and try to get the ceiling fan up higher so that when I get dressed in the morning and put on my shirt, I'm not always getting my arms whacked by the blades!  The perimeter of the room will have a 2' wide band of ceiling at 8' high - then it will jump up to 9' in the middle ceiling area.

Looking against the old house - Under the steel siding we discovered the original wood siding.  It actually looks to be in pretty good shape given how old it probably is.  You can also see in this picture we cut the overhang off.

Here you can see how we cut off the overhang.  It actually went pretty quickly - just put an old blade in the circular saw and cut through everything.  By the end of cutting about 20' of shingles, nails, etc the blade was definitely toast!  The worst part was all the nasty old dust that came out!

Neat picture looking between the new and older houses.  Not much room to spare!

Up inside the trusses - it is 11' from the bottom to the top of these trusses.  I can stand up and walk around in them no problem!  For a size reference, the sheets of OSB on the floor are 4' wide x 8' long.

Looking on-top of the trusses.  In total there will be 6ea  2x4 boards running parallel with each other to brace the bottom trusses and support the top portions.  Even I get a little shaky when up this high!  The ground is about 35' down!
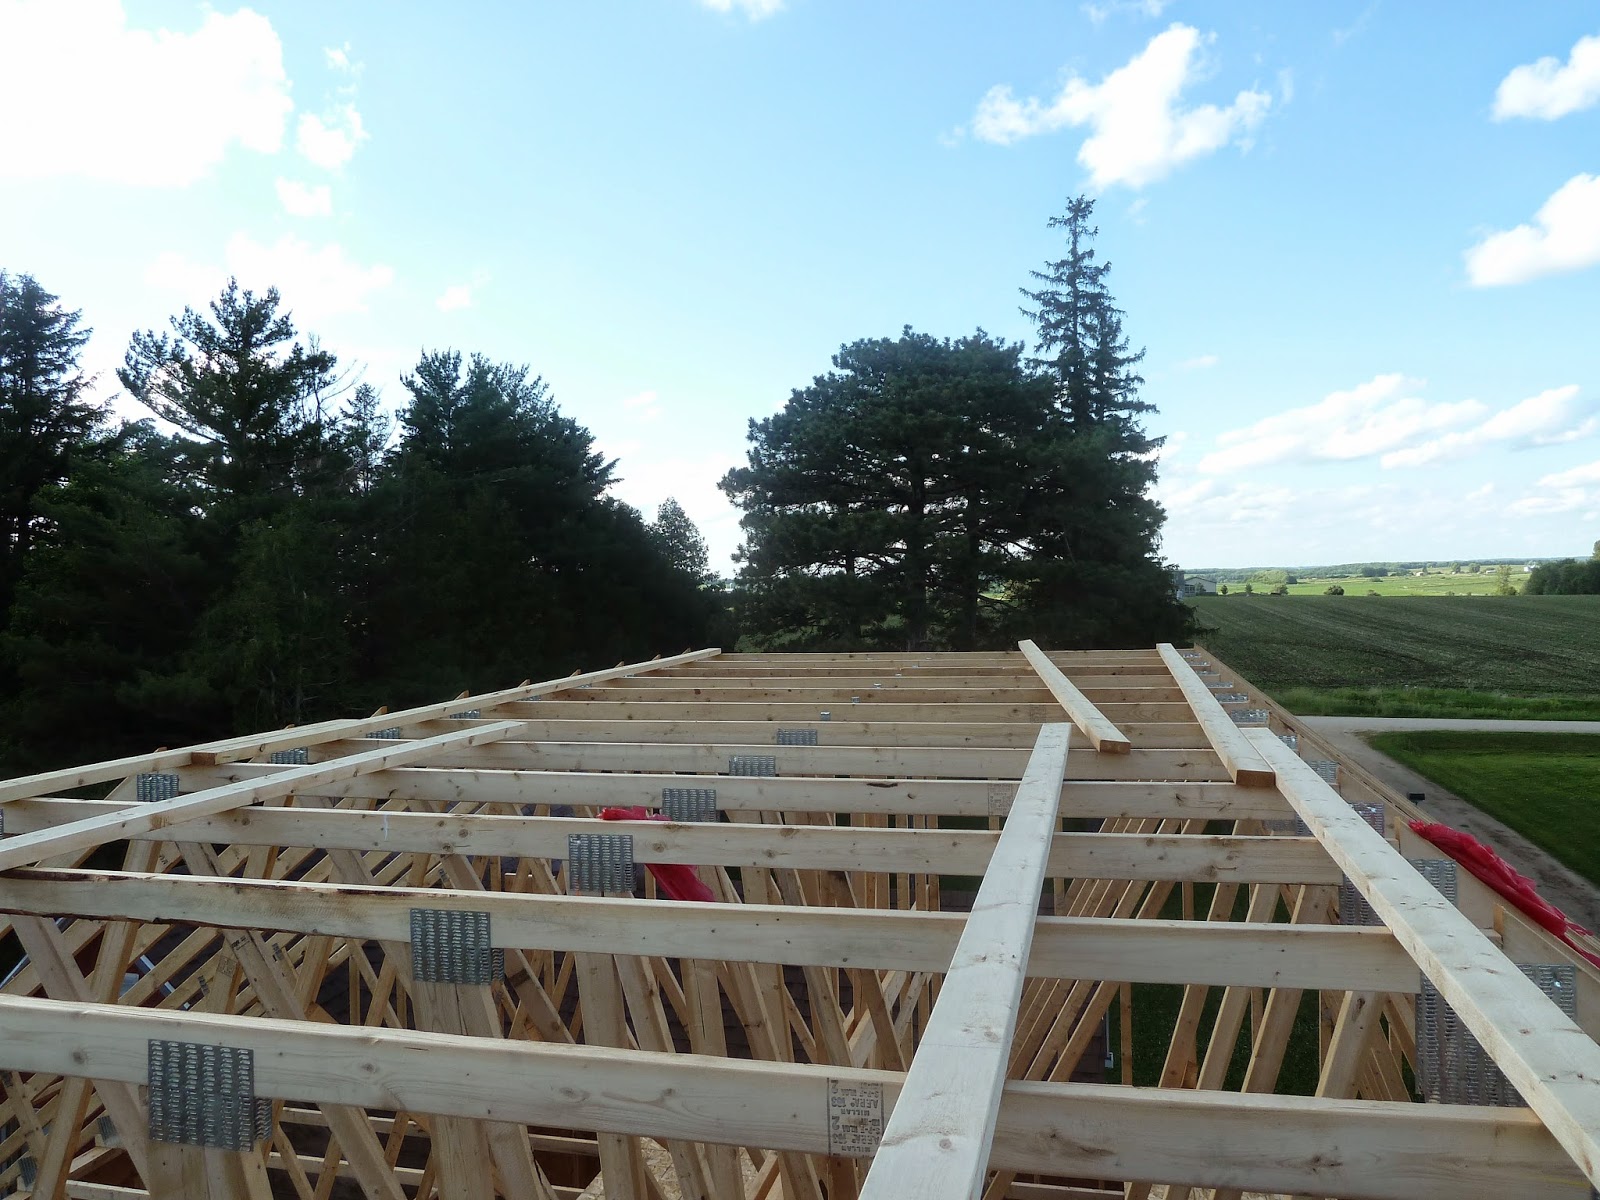
Looking down at the shop - looks small from up here!  You can also see the truss tops sitting on the ground.

 The rainy weather this weekend produced a fairly spectacular double rainbow - it was probably the brightest I have ever seen!

Stay tuned for the upcoming weeks.  Lots more hard work to get all these shingles installed once the sheathing is up.  Having the shingles on will be a huge milestone for this project!

And of course through the whole project, our cat that showed up this year affectionately known as "Shop Kitty" has provided supervision and after hours security.  Here she is napping on my work bench keeping tabs on the shop.  

Thanks for reading.  Say tuned for week 8 of the farmhouse build - lots of excitement yet to come!

Monday, May 26, 2014

Farmhouse Addition - Week 4 - Floor Trusses

After 4 days of hard work (thanks to excellent weather!), much was accomplished this long Memorial Day weekend!

Truss Delivery (After trying to deliver them to our neighbors down the road!)

Truss Delivery: All the Way from Chetek, WI

Video of Trusses Being Delivered!  Pretty Sweet Trailer!

Trusses Delivered and On the Ground!


Action Shot - Getting Ready to Lift Up the Last One!
 
Trusses All Set - Is There Really Another Whole Wall and Roof to Go On Top?


Cool Picture with All Trusses InstalledPlenty of Room To Run All the HVAC and Plumbing Stuff!

 Standing on the 2nd Floor - the House Seems Small Now!  8' Walls Will Be Framed Up, Then 17' Above That to the Peak of This Roof!

Framed Up the South Wall!  Just Needs Sheathing, Then it Can Be Tipped Up!

Hmmm...I think some tree trimming is in order!  You may be wondering why leave a tree so close to the house?  For my fellow wood/tree professionals out there, this is an oak tree and if you know anything about oak trees, they grow VERY slowly.  This tree is estimated to be 80-90 years old.  Thus, it is kind of governing our project as we want to keep it around for another 80 years+!

Preview of the View from Our New Master Bedroom - Can't See Another Soul in Sight!  This is Country Living at Its Finest!

Lots more updates coming up from week #4.  Roof trusses are being delivered on Thursday, 5/29.  We will also be working on framing up and tipping up the remainder of the 2nd floor walls.  Onward and upward. 

Thanks for reading!

Dan & Erin

Sunday, May 18, 2014

Farmhouse Addition - Week 2 - Framing Continued

Another successful weekend of framing on the addition.  The weather was very supportive of our efforts!  The first floor wall framing is now complete, and wall sheathing was also installed.

Saturday Progress - Garage Door Headers:

Saturday Progress - Starting to Look Like Something Now!

Saturday Progress - The Front and Back Walls of Mudroom/Powder Room/Pantry Framed:

Saturday Progress - Looking North:

Saturday Progress - Growing Up on the Existing House:

Sunday Progress - Sheathing!  Only 2 Sheets Short!

Sunday Progress - Looks Like a Big Box - No Windows Cut Out Yet:

Sunday Progress - 10' Sheets of OSB Are Awesome!  

Sunday Progress:  The Lumber Piles are Diminishing:

Stay tuned for week #3...big changes with floor trusses arriving on Wednesday, which will make for an exciting Memorial Day weekend!

Sunday, May 11, 2014

Farmhouse Addition - Week 1 - Framing

Spring is finally here and that means the start of framing the addition!  Even with the on-and-off rain this whole weekend, we still managed to accomplish quite a bit!

Lumber Delivered:

The first thing to frame was a small knee wall supporting the mudroom/pantry/powder room floor in front of the garage.

1st Floor Knee Wall:


After that came installing the 2x8 floor joists spanning from side to side.

1st Floor Joists:

And here are some pictures as of the end of the weekend!

Looking South:

Looking West:

Cool Picture Looking into the "Jail":

Looking Northeast:

Looking East:

Looking Northwest:

That's it for now - stay tuned for Week 2!

Sunday, December 29, 2013

Farmhouse Renovation - Completion of the Septic

After much anticipation, work on the septic began.  Our yard resembled more of an equipment yard than the usual grassy field.  Good thing we realized our yard was going to get beat up before things started!  We knew it was serious when the large excavator showed up!!


This picture is just before all the digging began.


First, they dug a trench for the 4" PVC drain pipe from the house to the tank which is about 100 feet away.  Then, they dug a huge hole for the tank.  The tank itself is about 5' in depth, buried about 4' underground, so the hole was 8' deep.

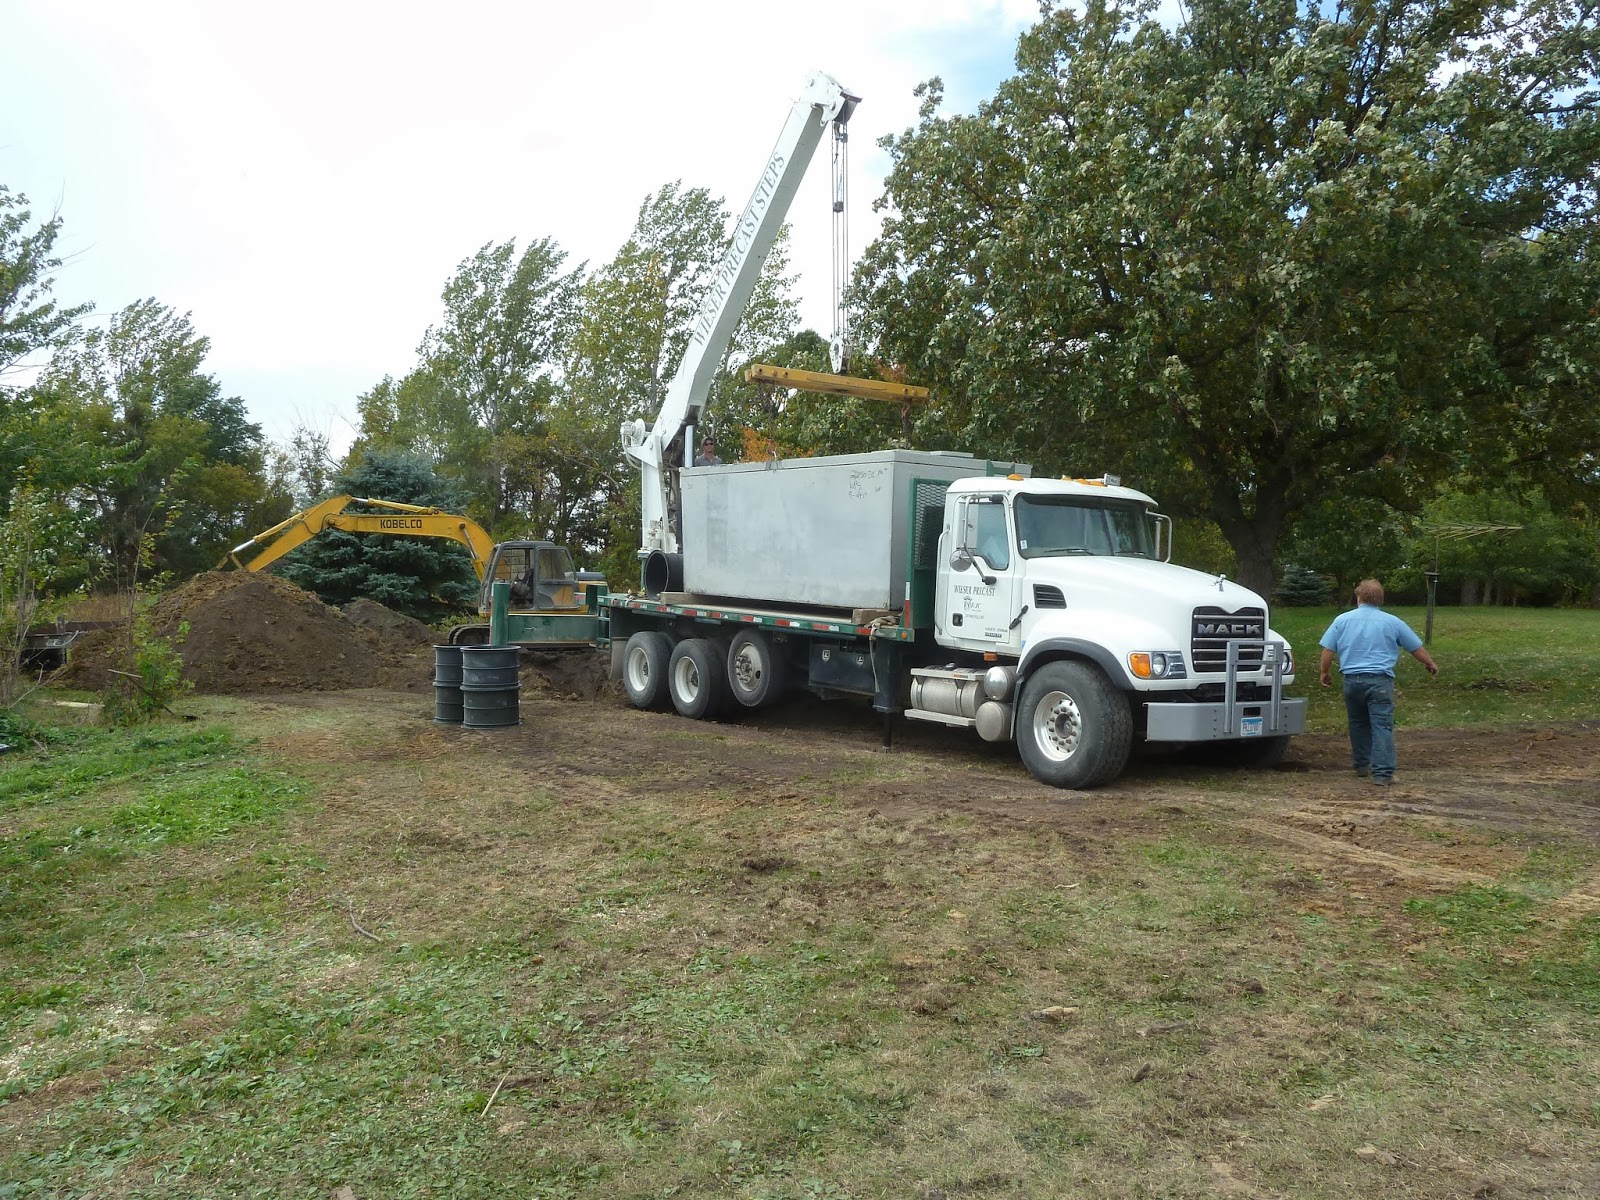
The tank was delivered on a large boom truck, manufactured locally at Wieser Precast.   This tank is 2250 gallons and is made from concrete.  The sizing of tanks is dependent upon the number of bedrooms in your house and whether or not you have a garbage disposal.  A garbage disposal increases the tank size by 750 gallons!  This tank has a baffle in the middle.  1,500 gallons of the tank receives all the waste water from the house.  As the water nears the top of the tank, it passes through a filter before pouring into the secondary tank.  By the time the water passes into the secondary tank, all the solid material has settle out, leaving "grey water" as it is called.  This secondary tank has a pump which pumps the liquid into the drain field periodically.


Here it is being lifted into place.


Here is the tank set into place, making the final connection to the PVC pipe from the house.


For serviceability, manhole type extension rings are added so that you can access the tank being the top of it is buried 4' or so.  Here it is installed.


Then, everything was back filled leaving only the three lids showing.


Finally, the drainfield was constructed.  It measures about 20' wide and 90' long and is made up of 4' of sand covered by 1' of dirt (FYI, that's a lot of sand!  It took a whole day of driving the dump truck back and forth to the quarry for them to have enough)!  Buried in the sand are three rows of baffles with PVC pipes inside.  When the pump turns on to empty the septic tank, the effluent is dispersed into these lines where it is slowly absorbed back into the ground.  Here you can see a fairly good cross section of the drain field as it is being buried.


And, there you have a septic system!  I don't have a completed picture of the mound, but it is basically as the name implies - a large long mound of dirt!

That's it for now.  Stay tuned to see the footing and foundation come to life!