Well, I broke the cardinal rule of being a good blogger - being that 3 weekends have now gone by since the last update. My apologies followers!
Anyway, weekend 5 consisted of completing framing and tipping up the majority of the 2nd floor walls. Here are some pictures to follow along below:
Looking to the NW - This long 34' wall was built in 3 sections. It still took everything 3 adult men had to tip up the sections. The OSB sheathing was pre-attached, which added more weight. The advantage to doing it this way is that you don't have to try and lift/nail sheets up from the outside up 2 stories!

Looking to the NE - The house looks very boxy now, but with the windows cut out and some different siding textures, it will break up the box-yness. In this picture you can also see that although the addition looks very tall, it lines up perfectly with the floor levels in the existing house when you compare to the 2nd floor windows in the house.

Up on the addition looking SW - The corner room you see framed is the future office. Notice that the roof overhang on the existing house will conflict with the walls on this side and will need to be cut back.

Up on the addition looking NW - It's a shame this nice new roof on this side of the house that we re-did when we moved in will end up being removed in order to tie in the roof.

Looking SW - All the main trusses are up. The heavist truss was about 420 lbs. My father in-law Mike really bulked up his good arm cranking up each and one of these trusses from the ground up - all in one day! The 3mm (about 1/2 the thickness of a wood pencil) braided steel cable from Harbor Freight really held up well - although we did not get close to the max load rating of 1460 lbs! The flat part on the top of the trusses will receive another small triangle truss to get to the peak. The trusses have to be shipped broken up like this because otherwise they would be too big to navigate the roads.

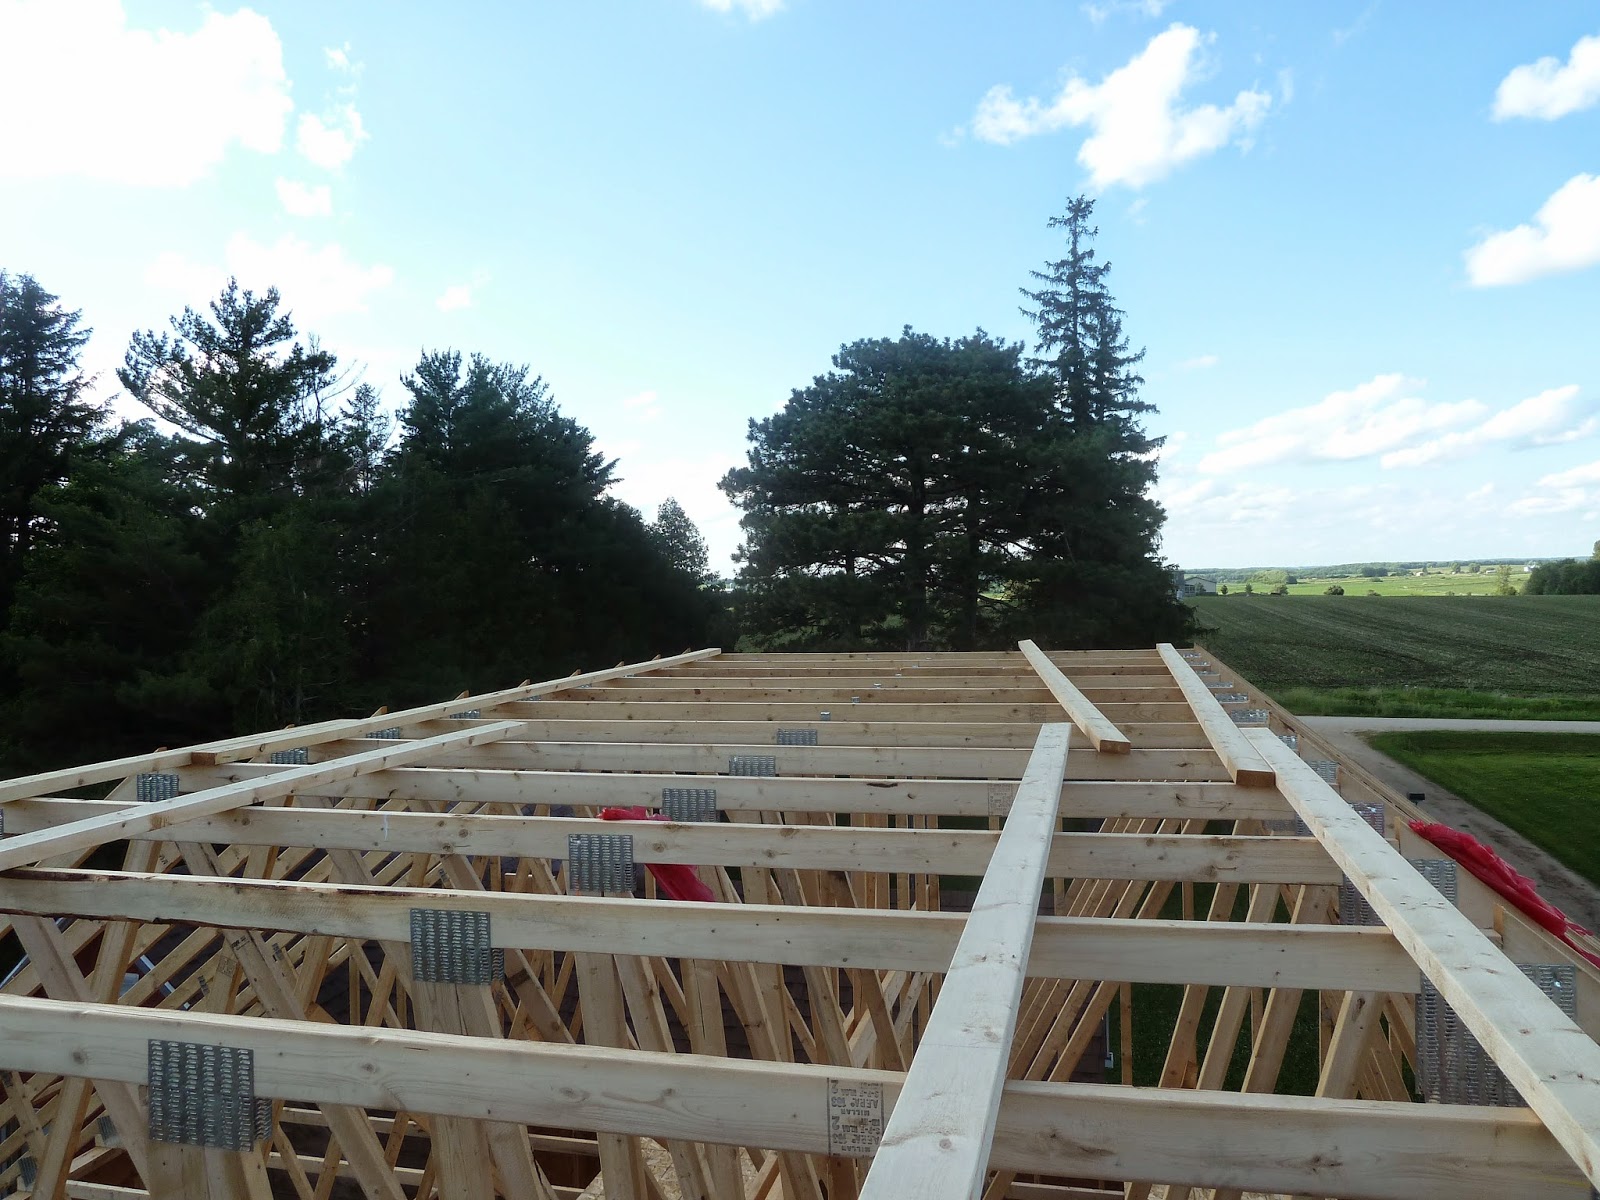
Looking NW: The structure is almost taller than the oak tree!

Looking to the NE - It's a long way up to the top!

Master Bedroom - We decided to go with inverted trusses to create a tray ceiling in the master bedroom. It is a cheap add to the truss order and will give a grand look to the master bedroom, and try to get the ceiling fan up higher so that when I get dressed in the morning and put on my shirt, I'm not always getting my arms whacked by the blades! The perimeter of the room will have a 2' wide band of ceiling at 8' high - then it will jump up to 9' in the middle ceiling area.

Looking against the old house - Under the steel siding we discovered the original wood siding. It actually looks to be in pretty good shape given how old it probably is. You can also see in this picture we cut the overhang off.

Here you can see how we cut off the overhang. It actually went pretty quickly - just put an old blade in the circular saw and cut through everything. By the end of cutting about 20' of shingles, nails, etc the blade was definitely toast! The worst part was all the nasty old dust that came out!

Neat picture looking between the new and older houses. Not much room to spare!

Up inside the trusses - it is 11' from the bottom to the top of these trusses. I can stand up and walk around in them no problem! For a size reference, the sheets of OSB on the floor are 4' wide x 8' long.

Looking on-top of the trusses. In total there will be 6ea 2x4 boards running parallel with each other to brace the bottom trusses and support the top portions. Even I get a little shaky when up this high! The ground is about 35' down!
Looking down at the shop - looks small from up here! You can also see the truss tops sitting on the ground.


Stay tuned for the upcoming weeks. Lots more hard work to get all these shingles installed once the sheathing is up. Having the shingles on will be a huge milestone for this project!

And of course through the whole project, our cat that showed up this year affectionately known as "Shop Kitty" has provided supervision and after hours security. Here she is napping on my work bench keeping tabs on the shop.

Thanks for reading. Say tuned for week 8 of the farmhouse build - lots of excitement yet to come!
No comments:
Post a Comment