We were able to set all the truss tops and get them sheathed. Mike had the brilliant idea to sheath them before we tipped them up, which turned out to be a real time-saver. You can also see the ladder trusses in place to create the 16" overhang.

Here you can see the ladder trusses at both ends. We were also able to patch in 3 rows of sheathing on the left side. About 12 sheets to finish this side!

Lots going on in this picture

Looking up at the overhang on the south side. Trimming the excess roof sheathing will be the last step before shingles.

Overhang on the north side.

For working up on the truss toppers, I built some custom scaffolding for better access. It made it a lot easier/safer to work at the top.

Up in the top truss pieces. Lotsa wood here! Even with all the bracing, the wind this weekend was still causing the whole structure to shake a little bit. Once all the roof sheathing is on, it will really stiffen it up.

It's a long way down to the 2nd floor, not to mention the ground!

The addition is officially higher than the oak tree...but for how long? Not a bad view from up here either!

Looking over the edge. Keep in mind the scaffolding is 5 frames high and still doesn't reach the peak! Also note the dual purpose bird feeder/TV antenna combo!

View from the top is sure nice!


Picture of the front overhang.

Picture standing on the 2nd floor looking up.

As if the new construction project wasn't enough, I started demoing in the bedroom which needs to receive new roof trusses. The demo needs to occur to confirm the framing details - and all of this needs to occur before the two roofs can be tied in.
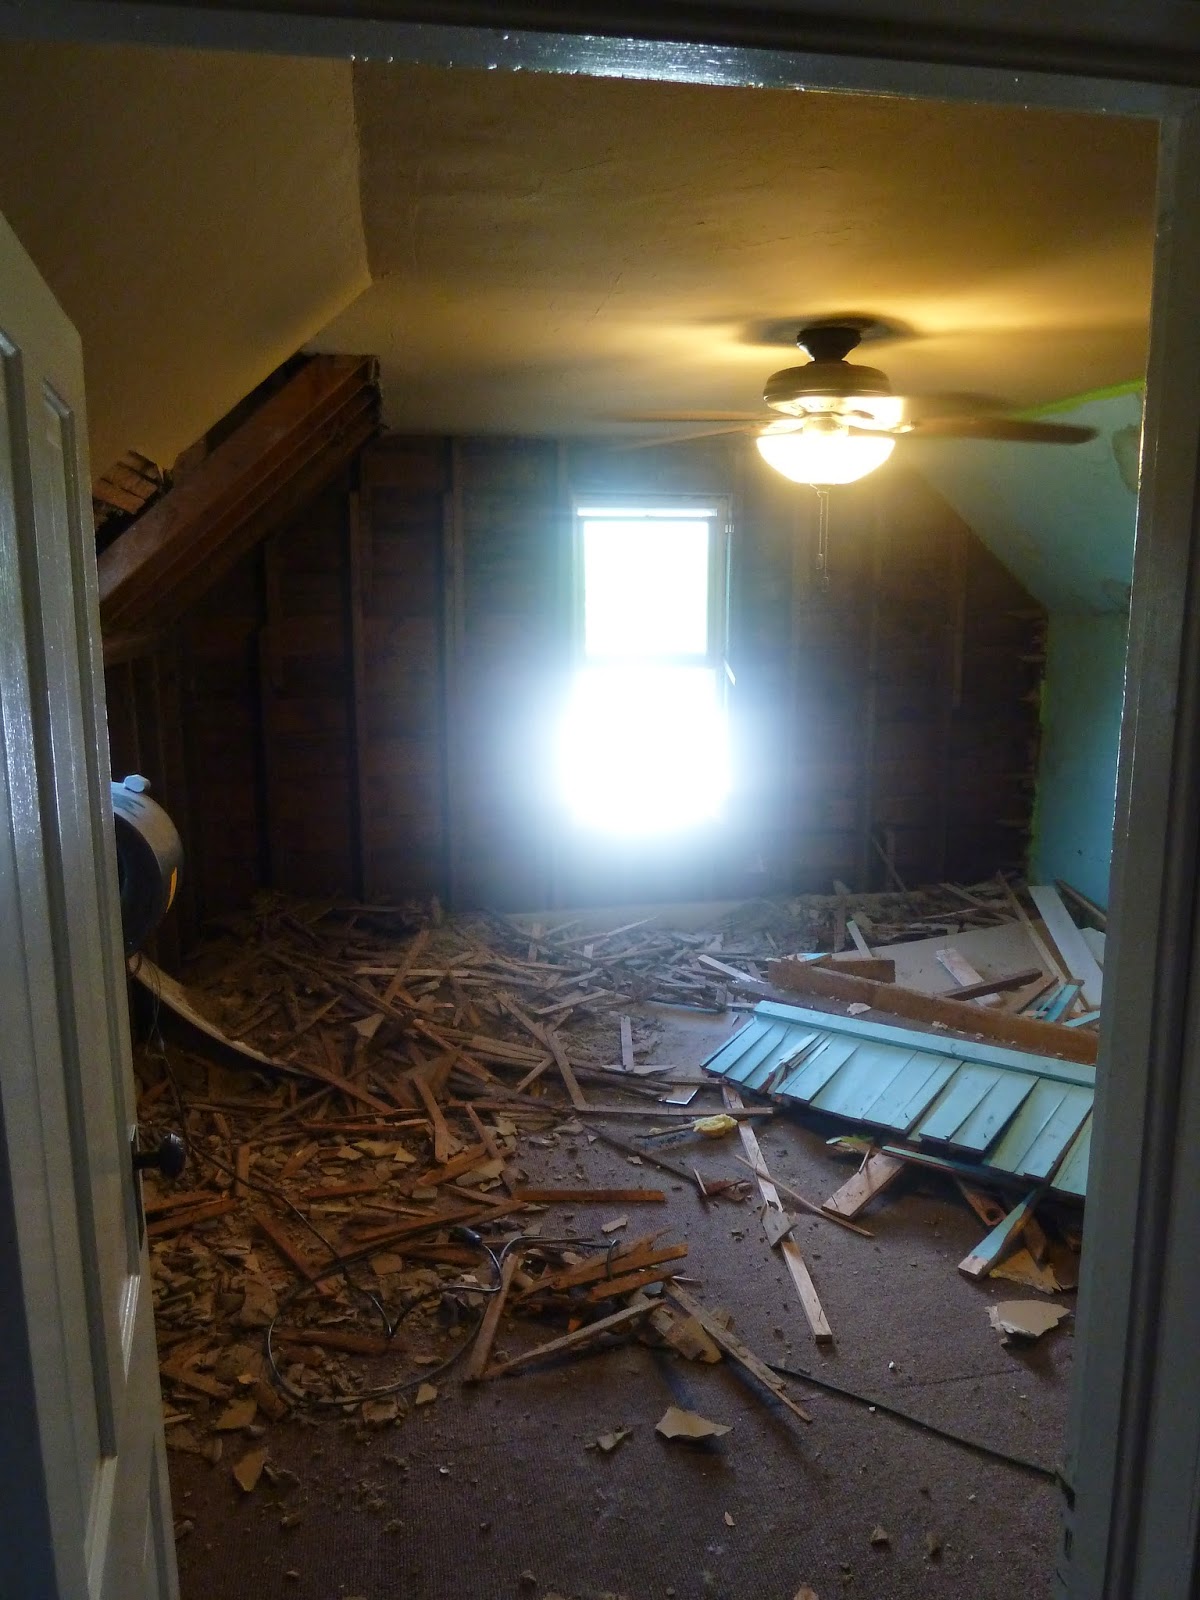
Quite the selection of colors the previous owners chose! You can also see previous water damage. Of course, the owners had grabbed some nice paneling and covered all this up.

It's cool to open up walls and see how things were built. No square nails in this lumber, so it isn't super old. Now I just need to clean this mess up! Also, I have to give Mike credit for the blower in the window. This thing really moves some air - there was practically no dust during demo - it just all got sucked out.

That's it for this week. Stay tuned next week - should see shingles make an appearance on the roof!
No comments:
Post a Comment