Sunday, July 20, 2014

Farmhouse Addition - Week 11 & 12 Updates

Another week of great weather in MN!  Although not a lot of huge visual progress over the past 2 weeks, a huge milestone was attained - the roof is complete on the addition!  No more water dripping and getting everything wet inside.

This weekend we also got the first row of Tyvek installed.  

 No huge changes from this view - however, you can see the Tyvek installed on the first floor.

View from the front - although hard to see, the roof is complete including the ridge shingles.  Also, notice the lower wood sheathing - perhaps a bit overboard, but my dad and I taped all the joints in the sheathing to reduce air infiltration.  It took a while, but the house will be tight!

I have always wondered why you see Tyvek installed upside down - why would anyone ever do that?  Well, today I finally solved the puzzle...WIND!  It is much easier to have the wind blowing against the roll as you are unrolling it vs. trying to get behind it causing it to try and take off like a sail.  Mystery solved.  But, yes, this upside down thing does still bother my lovely wife!

The west side of the roof - knocked this out by mid afternoon on Saturday.  I left the slide guards up as we will probably be back on this roof to tie-in the existing house roof.

Well, almost made it to the end of the first floor before the roll ran out!  At least the writing is the right direction!

 Here you can see the tie-in for the new roof.  I ran the shingles long on the lower portion - when the trusses are installed, we will flip the shingles back, install the trusses and sheathing, and then continue on with the shingles.

Being this roof is 3 stories tall at the peak, safety is important.  I installed a permanent tie-off system in the middle of the roof for future maintenance.  It is basically a stainless steel strap with two D rings - one coming out each side.  It sits under the ridge vent/cap shingles and is fastened to a truss with 10 - 3" nails.  You can't even pick it out from on the ground.  

My lovely wife picked up a cool addition for the shop - now I will always know where my keys are!

And, by popular request, here's the Shop Kitty picture of the week - hanging out on a random board right in the middle of the action.


Stay tuned for week 13.  Windows are scheduled to show up this week!

Wednesday, July 9, 2014

Farmhouse Addition - Week 10 Updates

Happy belated 4th of July!  My 4th of July consisted of 4 solid days of construction work.  Luckily, the weather was very cooperative and we got a lot accomplished!  This weekend we were also blessed with a special helper, my grandpa from Illinois.  Don't let his age fool you - he will outwork most anyone on any day!  


 Sheathing is now completed on both sides of the roof!  Yay!  You can also see the partial ladder truss on the right peak. When the existing portion of the house roof is removed, a new truss will peak at where this ladder truss (overhang) ends.  You can also see shingles are about 2/3 done on the east side.

Great view of the east elevation.  I worked on shingles in the mornings before the roof got too warm.  The first day I started, I worked until around lunch time and the shingles got so hot they were burning my knees while laying them!  Thus, I transitioned to working on them only in the first part of mornings.

The shingles really make it start to look like a house.  Also, notice we removed all the scaffolding from the left side of the house and moved it around back.

A great sight - the final peak is completed.  Just a few sheets to trim off on the opposite side.

After a long day's work on Sunday, we finished sheathing the west side.  Boy, did it get warm in the afternoon.  All that is left is to trim off the OSB and then it is ready for shingles after the other side is finished.

View from the front of the house.
For comparison, this is what our preliminary rendering looks like - it is starting to come together now!

The addition still seems to dwarf the house, but it will tie together nicely once the existing house roof is renovated to become a little taller.

Here's a nice group picture on Sunday afternoon after finishing work.  The crew enjoying a cold brew after a successful day of work!


Here's my grandpa driving the tractor moving shingles around to the back side of the house.

Here's my grandpa cutting some spacers for between the gable end truss and next one over.

And of course, we can't forget the newest member of our family - Shop Kitty - guarding the lift.  This is actually one of her favorite places to nap now.

And as the saying goes, "Knee high by 4th of July" - the farmer who farms the field around my should be very happy this year.

That's it for this weekend.  Next weekend we will try and complete all shingling and have a weather tight roof!

Sunday, June 29, 2014

Farmhouse Addition - Week 9 Updates

Although this weekend wasn't completely a washout, the sustained high winds turned out to really slow things down.  Ultimately, we still made good progress though.

We were able to set all the truss tops and get them sheathed.  Mike had the brilliant idea to sheath them before we tipped them up, which turned out to be a real time-saver.  You can also see the ladder trusses in place to create the 16" overhang.

Here you can see the ladder trusses at both ends.  We were also able to patch in 3 rows of sheathing on the left side.  About 12 sheets to finish this side!

Lots going on in this picture

Looking up at the overhang on the south side.  Trimming the excess roof sheathing will be the last step before shingles.

Overhang on the north side.

For working up on the truss toppers, I built some custom scaffolding for better access.  It made it a lot easier/safer to work at the top.

Up in the top truss pieces.  Lotsa wood here!  Even with all the bracing, the wind this weekend was still causing the whole structure to shake a little bit.  Once all the roof sheathing is on, it will really stiffen it up.

It's a long way down to the 2nd floor, not to mention the ground!  

The addition is officially higher than the oak tree...but for how long?  Not a bad view from up here either!

Looking over the edge.  Keep in mind the scaffolding is 5 frames high and still doesn't reach the peak!  Also note the dual purpose bird feeder/TV antenna combo!

View from the top is sure nice! 

 Inside the main trusses.  You can see the auxiliary scaffold platforms setup to work on the peak.

 Here's a good picture showing the connection between the main and top trusses.  

Picture of the front overhang.

Picture standing on the 2nd floor looking up.

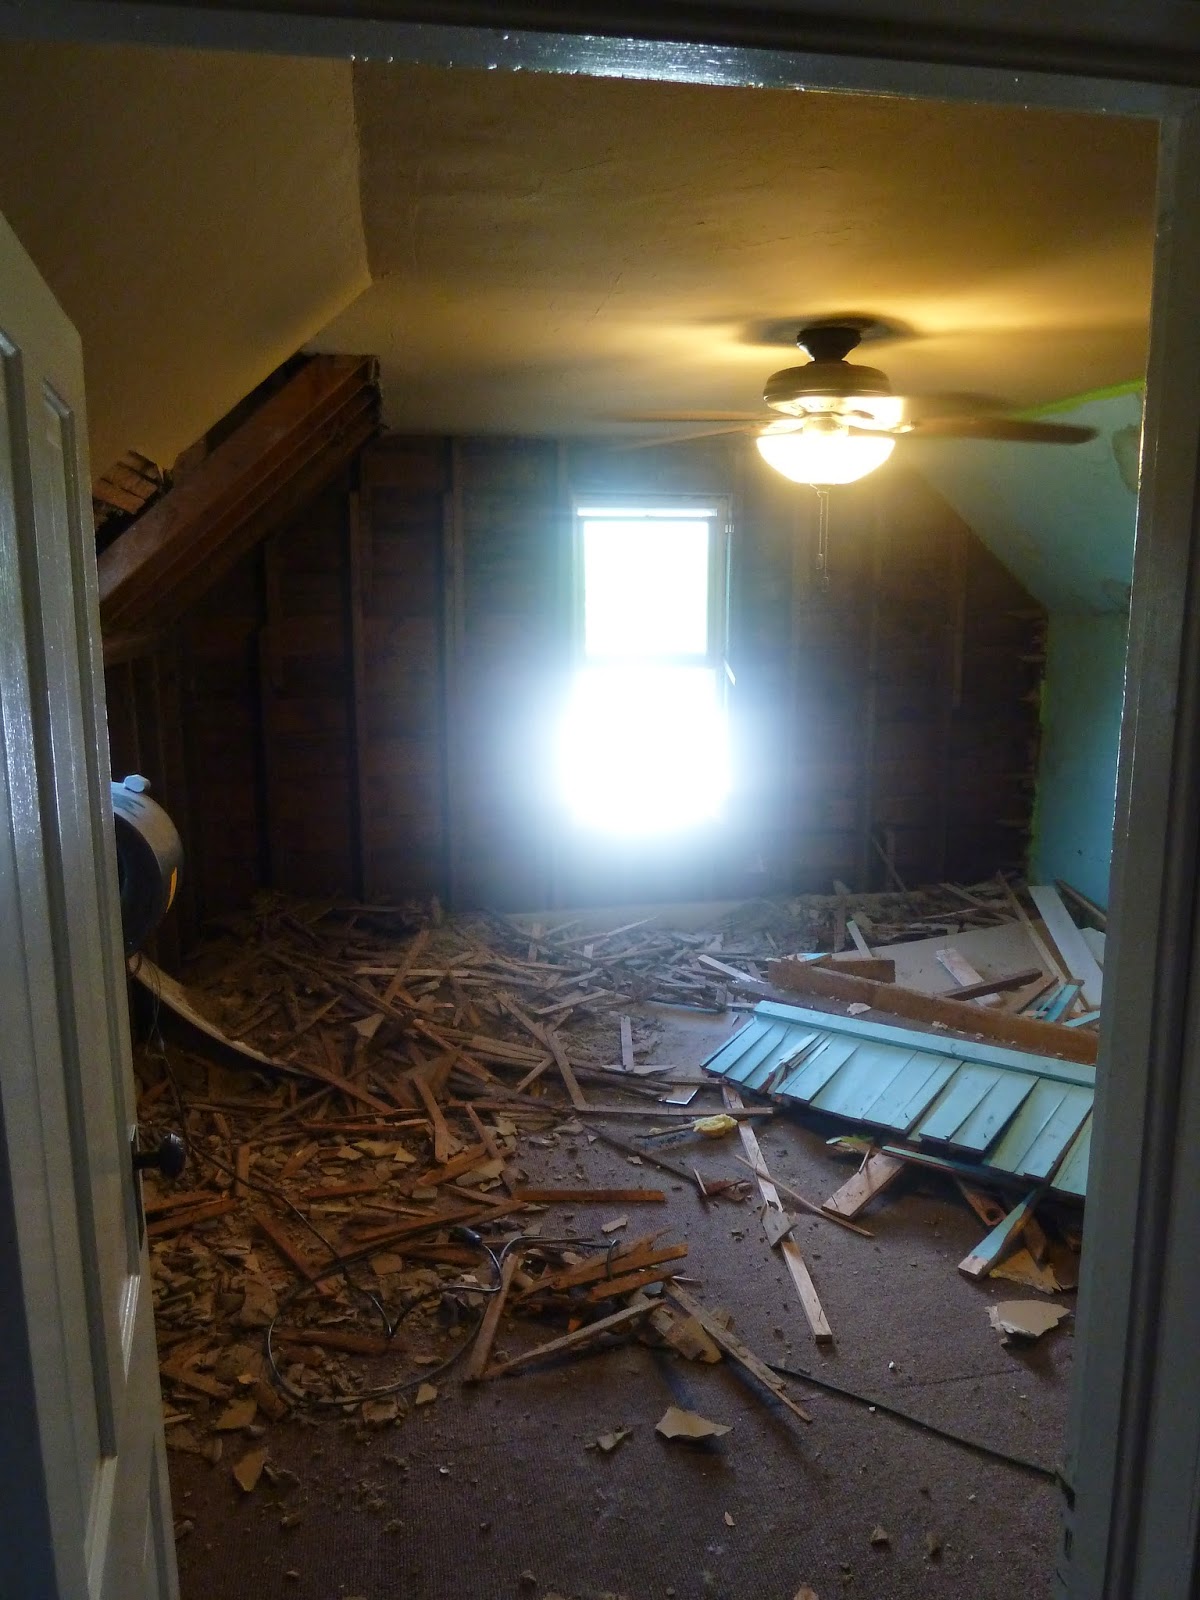
As if the new construction project wasn't enough, I started demoing in the bedroom which needs to receive new roof trusses.  The demo needs to occur to confirm the framing details - and all of this needs to occur before the two roofs can be tied in. 

Quite the selection of colors the previous owners chose!  You can also see previous water damage.  Of course, the owners had grabbed some nice paneling and covered all this up.

It's cool to open up walls and see how things were built.  No square nails in this lumber, so it isn't super old.  Now I just need to clean this mess up!  Also, I have to give Mike credit for the blower in the window. This thing really moves some air - there was practically no dust during demo - it just all got sucked out.

That's it for this week.  Stay tuned next week - should see shingles make an appearance on the roof!

Wednesday, June 25, 2014

Farmhouse Addition - Week 8 Updates

Lots of progress this weekend - it is looking more and more like a house!


The gable ends were sheathed this weekend.  Not pictured is the scaffolding set up on this side of the house for access.  The truss toppers still need to be set on top of the trusses.  Notice also the roof sheathing is installed on most of the east elevation.

Looking at the roof surface.  The sheathing is left out at the south side where the overhang still needs to be installed.

Invaluable tool from my father--in-law, Mike.  This 12v winch from Harbor Freight hauled up all the sheathing and lowered down all the scaffolding used to set the trusses.  It really saves a lot of physical labor.  The best part is that it has a wireless remote, so you can operate it from the ground or on the 2nd floor.

Looking up into the roof trusses at the completed sheathing.

Looking to the south - the gable end is 3/4 sheathed!

Looking to the north - this gable end is complete, with the exception of the gable end trusses.

Photo of the south gable end sheathed.

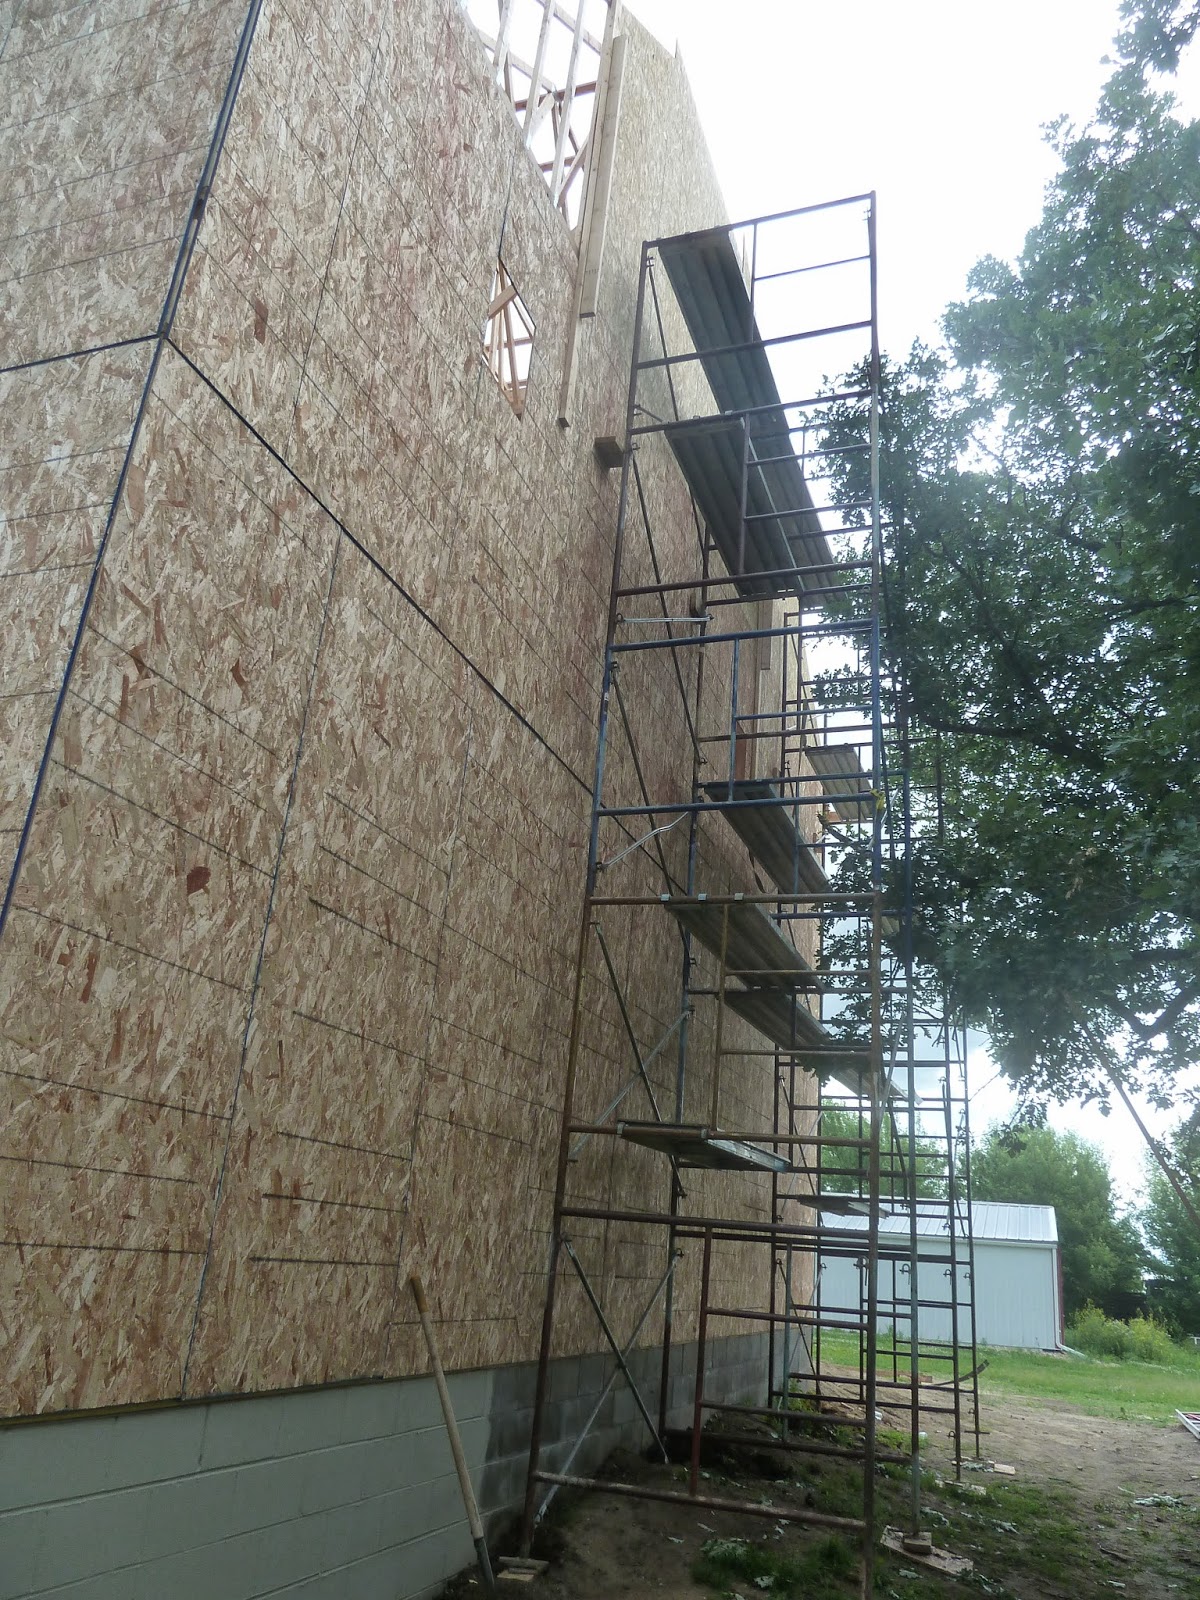
South elevation scaffold - 5 frames high - it took most of the day just to set this up, but it was worth it for safety!

It's a long way up there.  We will take the far tower and move it to this end to complete the remaining sheathing.

Looking north - the oak tree still conceals the whole addition quite well!

Starting to look more like a house now!  Lots of wood!

Here you can see the ladder truss we pre-fabricated in 8' sections.  The overhang will be trimmed once all sheathing is installed.

Looks like a house!

The addition kind of dwarfs the house, but it will all work out in the end.  Our awesome architects Nicole and Teresa at The Urban Studio planned out all the details to make everything look cohesive!

That completes week 8 - next week we hope to finish the roof sheathing and overhangs and start installing shingles!  Stay tuned!